How to clean a refrigerator (the full step-by-step)
How to clean a refrigerator step by step — empty and sort, wash shelves and drawers safely, wipe with mild soap, detail the gasket, and vacuum the coils.
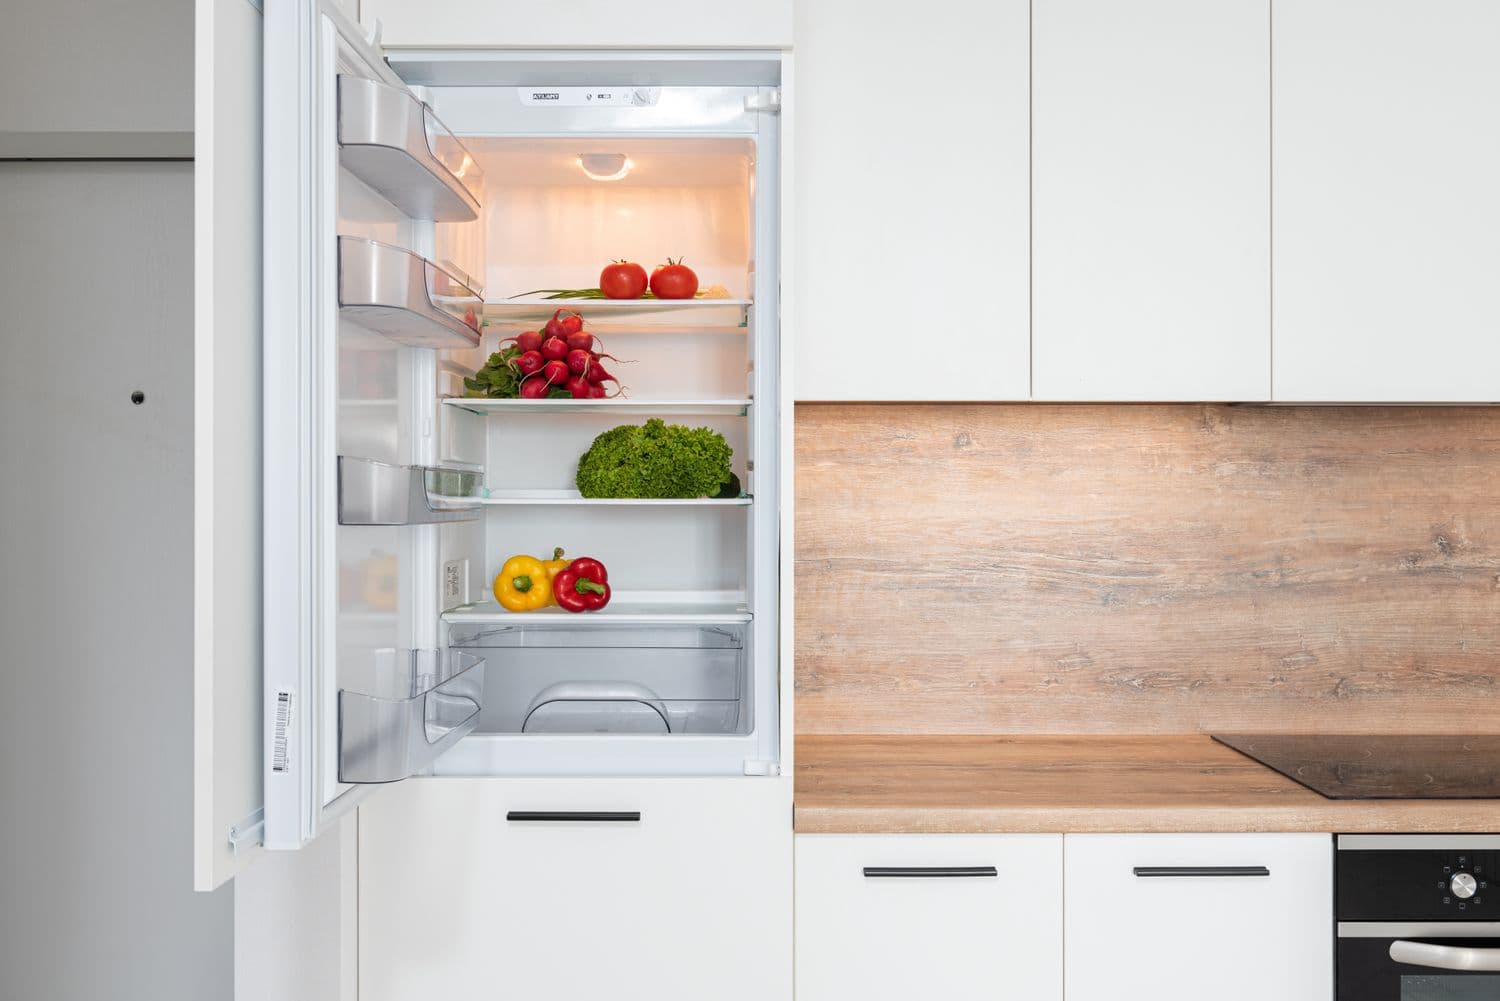
A refrigerator that smells stale, drips mystery liquid under the crisper, or hums louder than it used to is overdue for the same fix: a full empty-out — wash the shelves and drawers, wipe the interior with mild dish soap or a baking-soda solution, detail the door gasket, and vacuum the coils. Set aside about 45 minutes. Here's how to clean a refrigerator end to end, in the order that makes it painless.
What you'll need
- Mild dish soap
- Baking soda
- Warm water and a couple of microfiber cloths
- A soft brush or old toothbrush
- A vacuum with a brush attachment (for the coils)
- A cooler, if you tend to get pulled away mid-project
Step 1 — Empty it and sort ruthlessly
Take everything out — not shelf by shelf as you go, but all at once, so you can see what you actually have. Check dates and be honest: expired condiments, the jar with one pickle floating in it, leftovers older than four days — out. Consolidate duplicates while you're at it (somehow every fridge grows three open mustards). If the wipe-down will take more than half an hour or your kitchen runs warm, park meat and dairy in a cooler; everything else is fine on the counter for the duration.
This sorting pass matters more than it sounds. More often than not, a "my fridge smells" complaint traces back to one forgotten container, and a fridge that isn't overstuffed cools more evenly and runs less.
Step 2 — Pull the shelves and drawers (read this before you wash)
Slide out every removable shelf, door bin, and crisper drawer. One real warning here: cold glass and hot water don't mix. A glass shelf straight out of a running fridge can crack — even shatter — when it hits hot water, because the sudden temperature swing stresses the glass. Let glass parts sit on the counter for 15–20 minutes and come up toward room temperature first.
Then wash everything in warm (not scalding) water with a squirt of dish soap. An old toothbrush clears the gunk that collects in door-bin corners and along the rails the drawers slide on. Dry every piece completely before it goes back — trapped moisture in a cold, closed box is exactly how odors and mildew get started.
Step 3 — Wipe down the interior
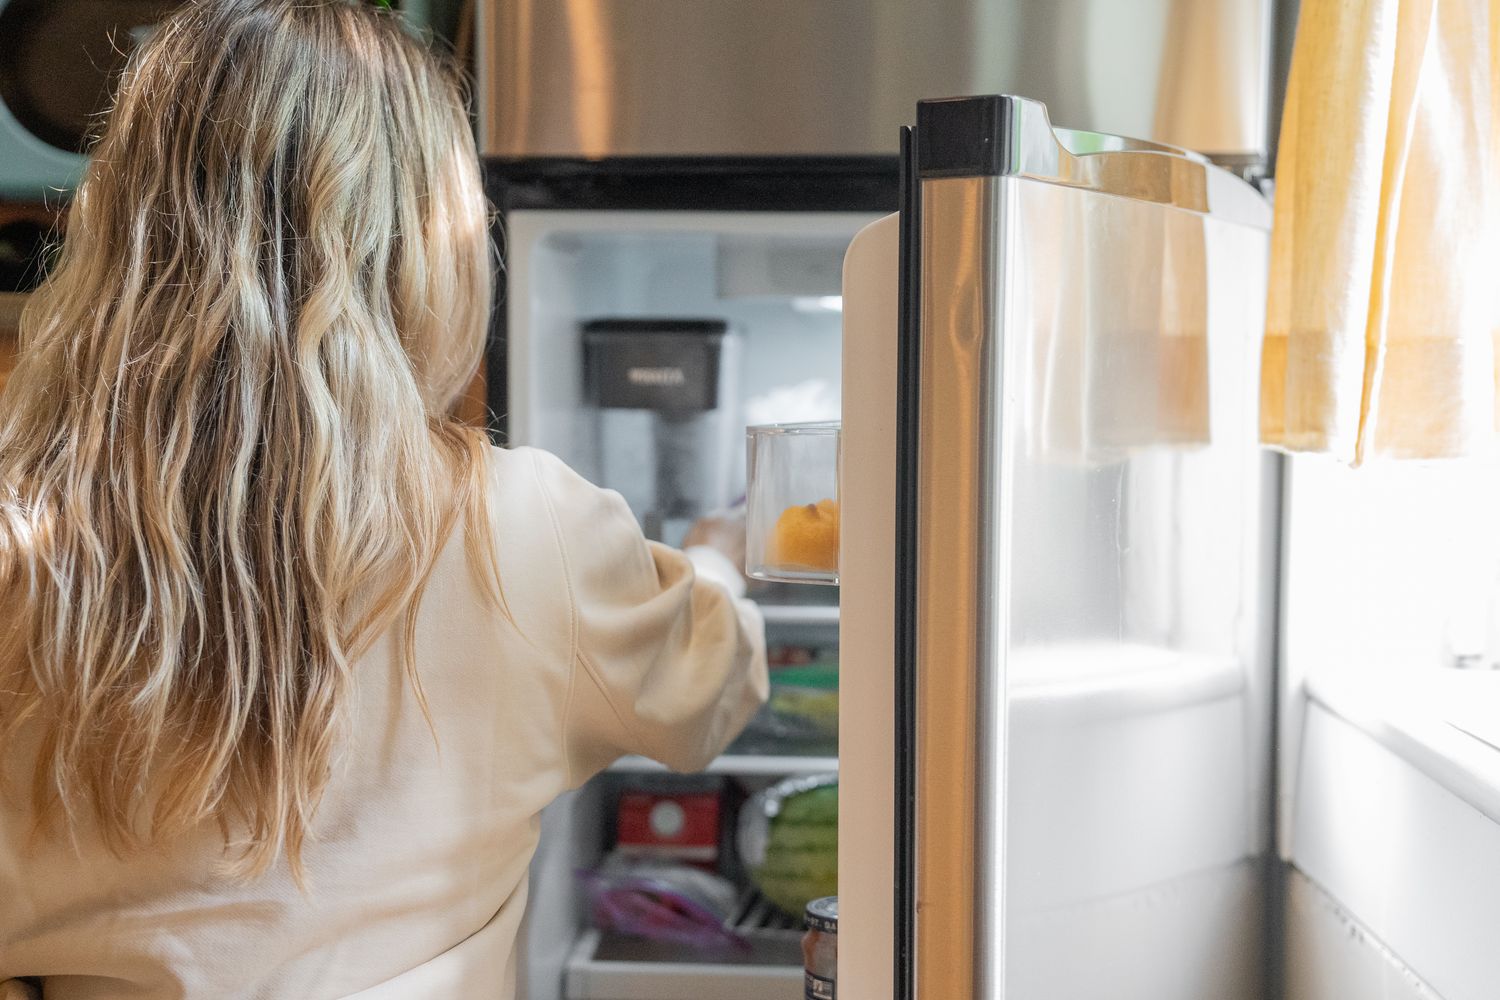
While the glass warms up, tackle the box itself. Two good options:
- Mild dish soap in warm water — cuts sticky spills and grease.
- A baking-soda solution — about 2 tablespoons per quart of warm water. It cleans and neutralizes odors in one pass, and it rinses away clean.
What you should not reach for is bleach. The inside of a refrigerator is a food-contact zone: bleach residue can transfer to food, the fumes linger in a closed cold box, and it's simply unnecessary — soap or baking soda handles anything a fridge interior develops. (One rule worth keeping forever: never mix bleach with vinegar or ammonia, anywhere in the house — the combination releases toxic gases.)
Work top to bottom so drips land on surfaces you haven't cleaned yet: ceiling of the box, walls, shelf supports, then the floor. If your model has a small drain hole at the back, clear it with the toothbrush — a blocked drain is the usual source of that puddle under the crisper. Finish with a clean damp cloth to rinse, then dry.
Step 4 — Detail the door seals
The rubber gasket around the door is the most skipped spot in the kitchen — and one of the grimiest. Crumbs and moisture collect in the folds, and mold takes hold there. Gently pull the pleats open and clean inside them with warm soapy water and the toothbrush, then dry.
It's worth the two minutes: a gasket caked with debris can't seal, and a fridge that leaks cold air runs constantly. Quick test — close the door on a dollar bill. If it slides out with no resistance, the seal isn't gripping at that spot. (If it fails all the way around, gaskets are replaceable parts.)
Step 5 — Vacuum the coils (every 6–12 months)
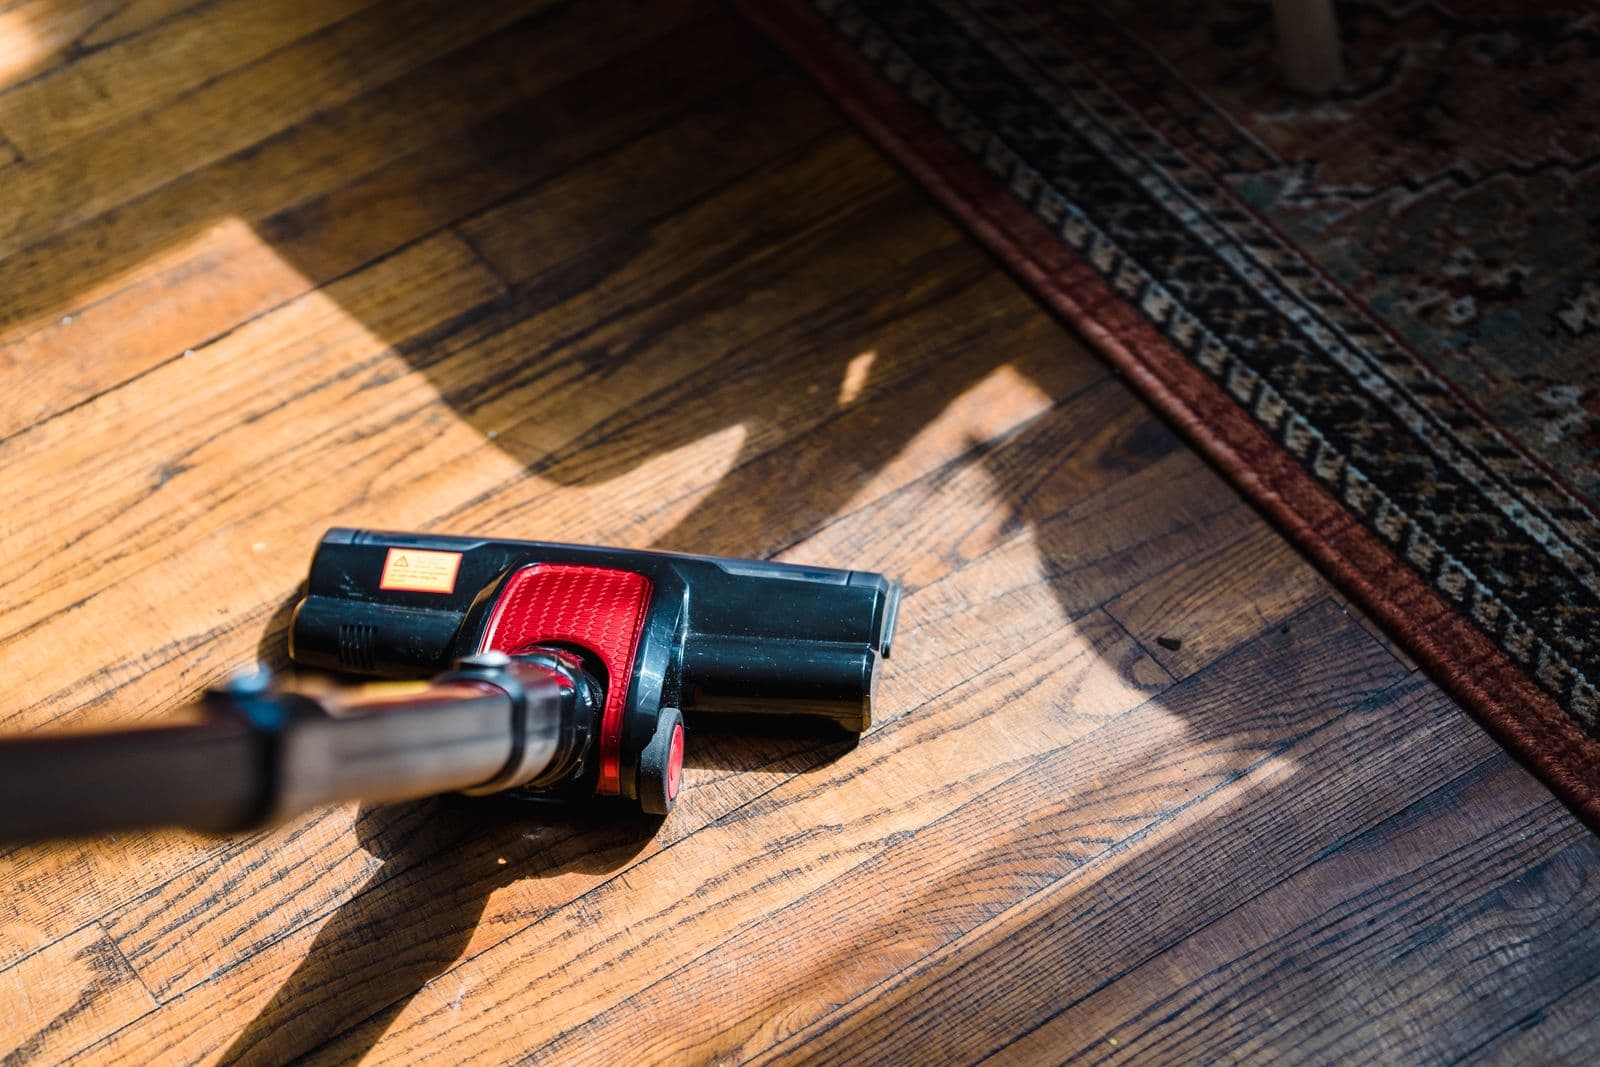
Here's the step with an actual payoff on your electric bill. The condenser coils — behind the kick plate at the bottom front on most modern units, or mounted on the back — shed the heat your fridge pulls from inside. When they're wrapped in dust and pet hair, the compressor has to work harder and longer to do the same job.
Unplug the fridge first. Then pop off the kick plate (or walk the unit forward if the coils are on the back) and go over the coils with the vacuum's brush attachment. A slim coil brush from the hardware store reaches where the vacuum can't. Vacuum the floor underneath, plug it back in, and you're done. Every 6–12 months is the right rhythm — closer to six if you have shedding pets.
Step 6 — Clean the exterior by finish
- Stainless steel: wipe with the grain using a microfiber cloth and a little dish soap in warm water, then dry with a second cloth to prevent streaks. Skip abrasive pads and scouring powders — they leave permanent scratches. (Full guide: how to clean stainless steel appliances.)
- Painted or textured finishes: warm soapy water on a wrung-out cloth is all they want.
- Wherever hands go — the handle, the ice dispenser, the top edge of the door — give it an extra pass; that's where the visible grime lives.
Don't forget the top of the fridge. Dust collects up there out of sight, then drifts down every time the door swings.
Deodorize and restock

Set an open box of baking soda on a middle shelf. The classic works because baking soda genuinely absorbs odor molecules from the air; swap in a fresh box every three months. (More jobs it's good for: cleaning with baking soda and hydrogen peroxide.)
As food goes back in, wipe the bottoms of jars and bottles, keep raw meat on the lowest shelf so nothing can drip onto other food, and give produce the humidity-controlled drawers it was designed for.
The keep-it-clean cadence
- Weekly: toss aging leftovers and wipe visible spills before they set
- Monthly: quick pass over the door bins and gasket
- Every 3–4 months: the full empty-and-wipe session above; refresh the baking-soda box
- Every 6–12 months: unplug and vacuum the coils
Spills are the whole game. Caught the day they happen, they wipe up in seconds; six weeks later, they're chiseling work.
The fridge is one of the heavier line items in a whole-kitchen reset, and it's one a cleaning crew can take off your plate: a deep clean includes inside the fridge on request, alongside the oven and the rest of the built-up grime. You can get an exact price and book online in under two minutes — and nothing is charged until after the clean.
Ready for a spotless home?
See your price and book a cleaning in under two minutes — no calls, no back-and-forth.
Get your instant price